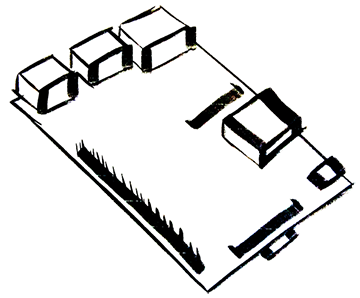
How to Set Up Dynamic DNS from a Raspberry Pi
14 Aug 2016Why I needed this solution
Accessing my home network has always been a nice to have. I’ve always used services such as dyndns.org, no-ip.org and the list goes on. No real solution ever stuck very long as most of the free services turn out to not be free over time. So why not update my domain directly from my network? The end-all solution!
This solution assumes you already manage your DNS using Cloudflare DNS service. I highly recommend Cloudflare for a number of reasons. They manage one of the top-performant DNS solutions in the world as per SolveDNS.com.
Why use a Raspberry Pi And not my router?
A lot of consumer-grade routers have a dynamic DNS solution. Most of these are tied to the above list of freemium dynamic DNS services. This doesn’t help us when we’re trying to avoid paying money to simply connect to our home network.
Credit Is Due
I learned a lot using the following article Jens Segers’ Blog and I’m ultimately updating it with more pictures from my experience.
Install the old ddclient
We will piggy-back off the old ddclient set up which includes start up/down scripts and configuration file samples. As well as install a Perl dependency that ddclient uses for the Cloudflare configuration.
sudo apt-get install ddclient libjson-any-perlNote: ddclient may run through some configuration wizard - it’s safe to skip the screens by just hitting the enter key on each screen.
Install the new ddclient
The latest ddclient 3.8.3 has a pull request that connects to Cloudflare using their API. We will download directly from Sourceforge and overwrite the binary.
cd ~
wget http://downloads.sourceforge.net/project/ddclient/ddclient/ddclient-3.8.3.tar.bz2
tar -jxvf ddclient-3.8.3.tar.bz2
sudo cp -f ddclient-3.8.3/ddclient /usr/sbin/ddclient
Configuring ddclient for Cloudflare
We will now configure ddclient to use the new Cloudflare protocol. We will need our Cloudflare credentials such as our email, API key, zone and records to update.
sudo mv /etc/ddclient.conf /etc/ddclient
sudo nano /etc/ddclient/ddclient.conf
The values I procured are as such:
- Email: [email protected]
- Password (Cloudflare API key): d7b75cd67e8f9c5x975307c5f32762287c19c
- Zone (base domain we’re updating): bitpi.co
- Subdomain we’re using to update our dynamic IP address: pi.bitpi.co
We will update the configuration file with the following configuration change (make sure to update everything between astericks):
##
## CloudFlare (cloudflare.com)
##

# How often to check for IP change in seconds
daemon=1800

# Cloudflare protocol added to ddclient (3.8.3)
protocol=cloudflare

# Tell ddclient how to get your ip address
use=web, web=ip.changeip.com

# Credentials for Cloudflare API
server=www.cloudflare.com
ssl=yes
login=*bitpico@gmail.com*
password=*d7b75cd67e8f9c5x975307c5f32762287c19c*
zone=*bitpi.co*

# Domain to update
*pi.bitpi.co*
Now we save the file and run a test to make sure we’re updating our hostname appropriately. We will run the following command:
sudo ddclient -daemon=0 -debug -verbose -noquiet -forceWe should hopefully see the following message:

